
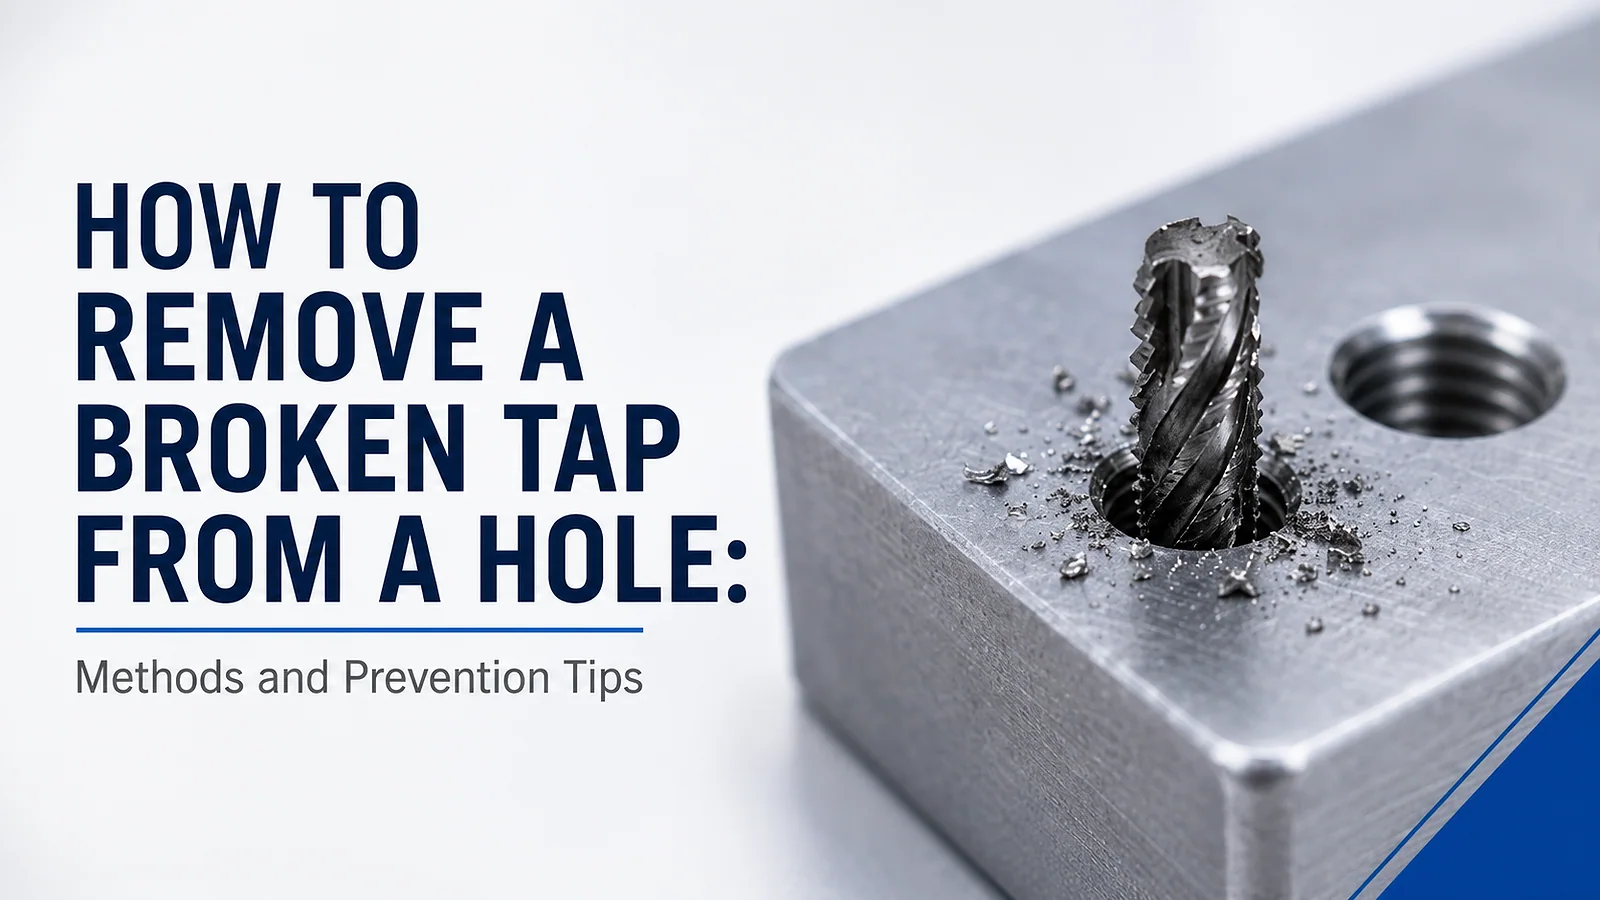
To decide how to remove a broken tap from a hole, first stop the machine, secure the part, inspect how deep the tap is, identify the tap and workpiece materials, and decide whether the original thread must be preserved. If the tap protrudes and is loose, careful reverse extraction may work. If it is broken below the surface, tightly jammed, made from hard tool steel, or trapped in a critical part, EDM is often the lowest-risk professional method. Do not strike a hardened tap or force an extractor: brittle fragments can fly, and a failed attempt can damage the thread beyond repair.
Start With Safety and Damage Assessment
A broken tap is hard, brittle, and often wedged by chips. Wear eye protection and keep hands away from sharp fragments. Isolate CNC power before reaching into the work area, remove the part when practical, and clamp it securely. Avoid hammers, punches, and improvised high-force tools unless a controlled procedure and guarding are in place.
Clean loose chips with a brush, vacuum, or controlled flushing appropriate to the material and coolant. Do not use unprotected compressed air toward yourself or other people. Magnification and good lighting help determine whether the tap is above, flush with, or below the surface and whether its flutes are accessible.
Information to Check Before Choosing a Method
- Tap type: spiral point, spiral flute, straight flute, roll/form tap, or pipe tap.
- Tap material: high-speed steel, cobalt HSS, or carbide.
- Workpiece material: aluminum, steel, stainless steel, cast iron, copper alloy, or plastic.
- Break location: protruding, flush, or below the surface.
- Hole type: through hole or blind hole, including available depth below the tap.
- Thread importance: cosmetic, replaceable, or critical to sealing and assembly.
- Available access, equipment, and acceptable repair size.
Before repair, confirm the intended diameter, pitch, thread standard, depth, and class. The guide to measuring thread size and pitch can help when the drawing or damaged feature is unclear.
Broken Tap Removal Methods Compared
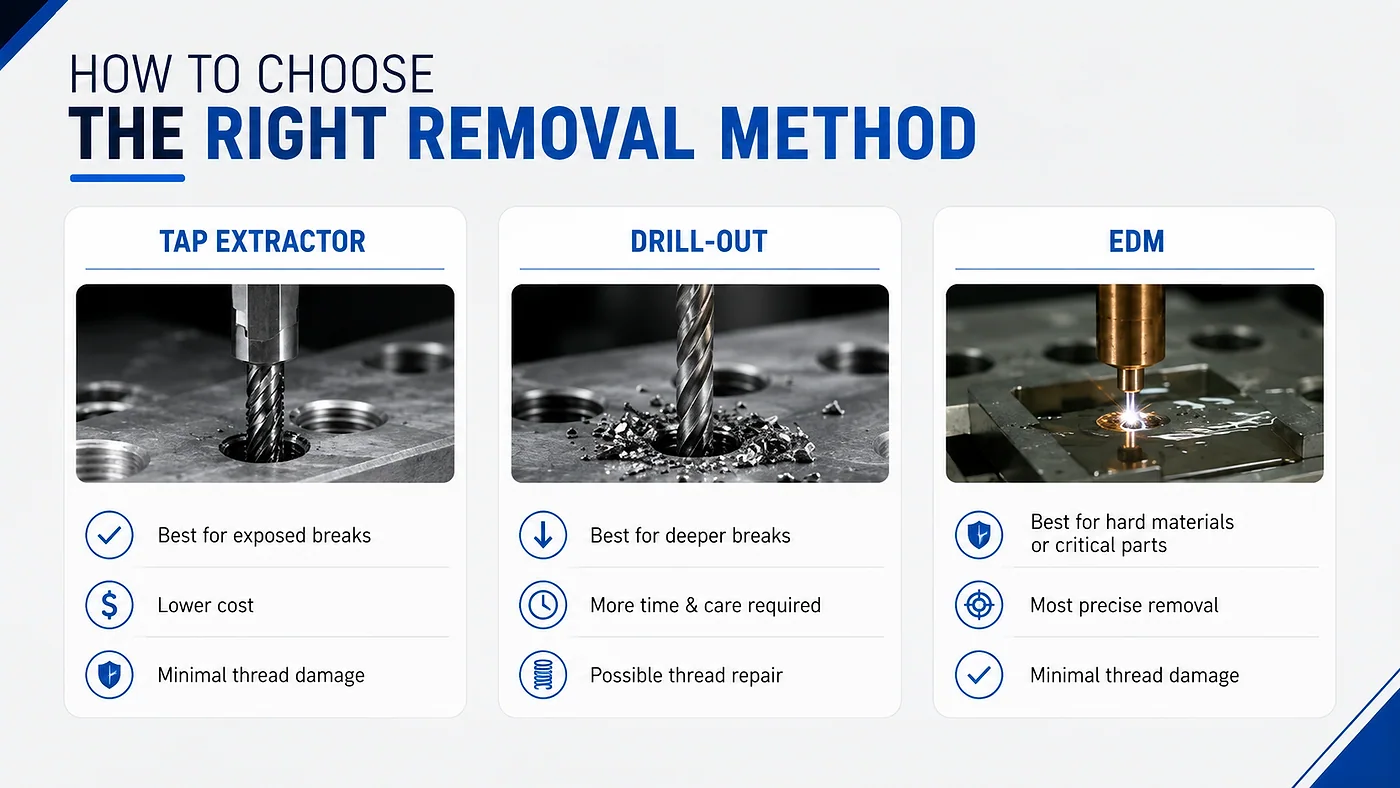
| Method | Best Situation | Main Risk | Thread Preservation |
|---|---|---|---|
| Reverse with pliers or prepared flats | Tap protrudes and is not tightly jammed | Twisting the tap off lower or marking the surface | Often good if no side load is applied |
| Flute-style tap extractor | Flutes are intact and accessible | Thin fingers break or spread under high torque | Possible when the tap can rotate freely |
| Carbide burr, end mill, or specialized drill-out | Rigid machine setup and experienced operator | Tool breakage, wandering, damaged thread, hard fragments | Variable; often requires thread repair |
| EDM disintegration | Hard tap in a valuable conductive workpiece | Cost, access, recast layer, electrode alignment | Usually the best controlled option |
| Chemical dissolution | Compatible tap/workpiece pair and nonurgent repair | Corrosion, long time, chemical handling | Can be good after compatibility testing |
| Oversize and install an insert | Original thread is damaged but repair is allowed | Insufficient wall thickness or changed approval status | Original thread is replaced |
Method 1: Remove an Exposed Tap Mechanically
If enough of the tap projects above the surface, apply penetrating fluid compatible with the part and remove packed chips around the flutes. Grip the tap as close to the surface as practical, keep the force aligned with the tap axis, and apply gentle reverse torque. A small back-and-forth motion may release chips, but increasing torque after the tap stops moving usually creates a second break.
If the exposed end is irregular, a qualified toolmaker may grind flats or prepare a controlled gripping surface. Protect the surrounding datum and sealing faces. Heat should be used only when material, heat treatment, coating, and dimensional risk have been reviewed.
Method 2: Use a Tap Extractor
A flute-style extractor inserts hardened fingers into the tap flutes and uses a collar to support them. It works best when the flutes are open, the tap is not heavily seized, and the break is accessible. Clear chips first and insert the fingers fully and evenly.
Apply steady reverse torque with the extractor aligned to the hole. Stop if the fingers twist, bend, or begin to slip. Extractors are not a cure for a tap locked by severe chip packing or galling; forcing them can leave additional hardened pieces in the hole.
Method 3: Grind or Drill Out the Tap
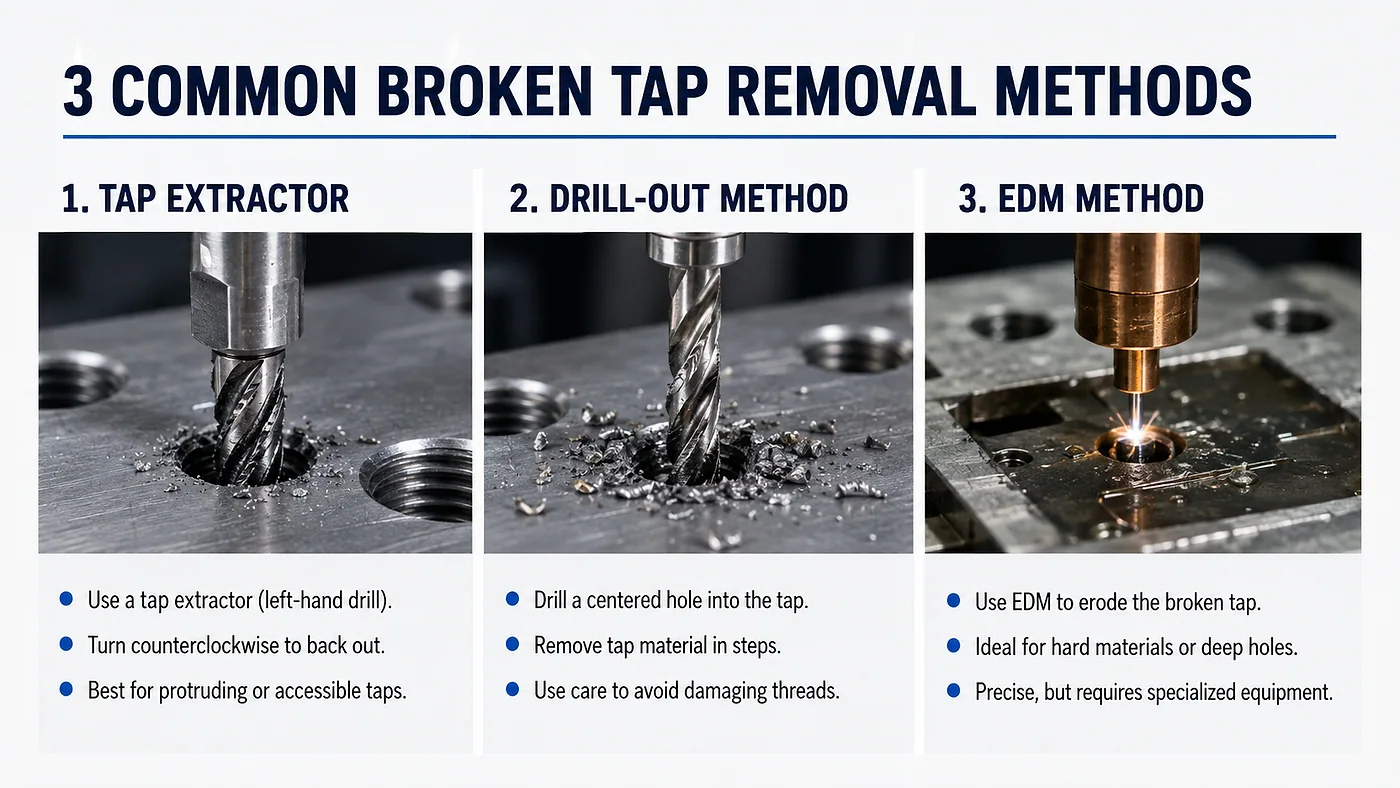
Ordinary high-speed-steel drills generally cannot cut a hardened HSS or carbide tap reliably. Professional drill-out methods use a rigid mill or machining center, accurate alignment, and suitable carbide tooling, grinding points, or purpose-made tap-removal tools. The objective may be to weaken the tap core so the remaining teeth can be picked out rather than to drill the entire tap like soft steel.
Tooling must enter on center. An uneven fracture encourages the cutter to walk into the workpiece, while interrupted contact can chip carbide. Use guarding, conservative parameters, controlled pecking or interpolation, and effective chip removal. If the thread is critical or wall thickness is limited, stop before risking irreversible damage and use EDM.
Method 4: EDM Tap Disintegration
EDM uses controlled electrical discharges to erode conductive tap material. A tubular or shaped electrode can remove the tap core with little mechanical cutting force, after which remaining fragments are cleaned from the flutes. This method works on hardened taps and is commonly selected for expensive molds, housings, manifolds, and finished components.
The workpiece must be electrically conductive, and the electrode must be aligned to avoid the parent thread. Flushing, electrode size, depth, recast layer, and inspection all matter. EDM is not zero-risk, but it usually gives the best chance of preserving a critical threaded hole. See when sinker EDM is used for inaccessible hard features.
Method 5: Chemical Dissolution
Some chemical processes can dissolve a steel tap while attacking an aluminum workpiece more slowly. This may be useful when equipment access is limited and time is available. It is not a universal home-shop remedy: alloy, coating, temperature, concentration, trapped solution, hydrogen effects, disposal, and operator exposure require control.
Test compatibility on representative scrap, follow the chemical supplier’s safety data, use ventilation and protective equipment, and neutralize and clean the part completely. Do not use chemical dissolution on a safety-critical or certified part without engineering approval.
When the Thread Needs Repair
After removal, clean the hole and inspect the crest, flank, pitch diameter, depth, runout, and surrounding surface. Minor damage may be recoverable with a thread chaser under controlled alignment. Severe damage may require drilling and tapping oversize, installing a wire or solid insert, welding and remachining, plugging, or replacing the part.
The repair choice depends on wall thickness, load, sealing, temperature, corrosion, insert pullout strength, drawing approval, and access. Compare threaded inserts vs tapped holes before changing the design or repair standard.
How to Inspect the Recovered Hole
- Remove all tap, electrode, abrasive, and chip fragments.
- Inspect the entry chamfer and nearby datum or sealing surface.
- Use the specified GO/NO-GO gauge where applicable.
- Verify usable thread depth rather than only overall drilled depth.
- Check position and perpendicularity if the removal method could wander.
- Confirm insert type, installation depth, locking, and torque requirements after repair.
- Document disposition and approval for critical or traceable parts.
Why Taps Break
Common causes include an undersized tap drill, excessive thread engagement, wrong tap geometry, poor alignment, insufficient lubrication, trapped chips, inadequate blind-hole clearance, worn cutting edges, unstable synchronization, runout, incorrect speed, feed mismatch, and work hardening. Material inclusions, interrupted holes, cross holes, heat-treatment variation, and hard coatings can add impact or torque spikes.
Failure analysis should examine the tap, chips, hole, program, holder, coolant, and preceding drill. Replacing the tap without finding the cause often repeats the break. For a broader process review, see causes of CNC drilling and tapping failures.
Prevention Tips for CNC Tapping
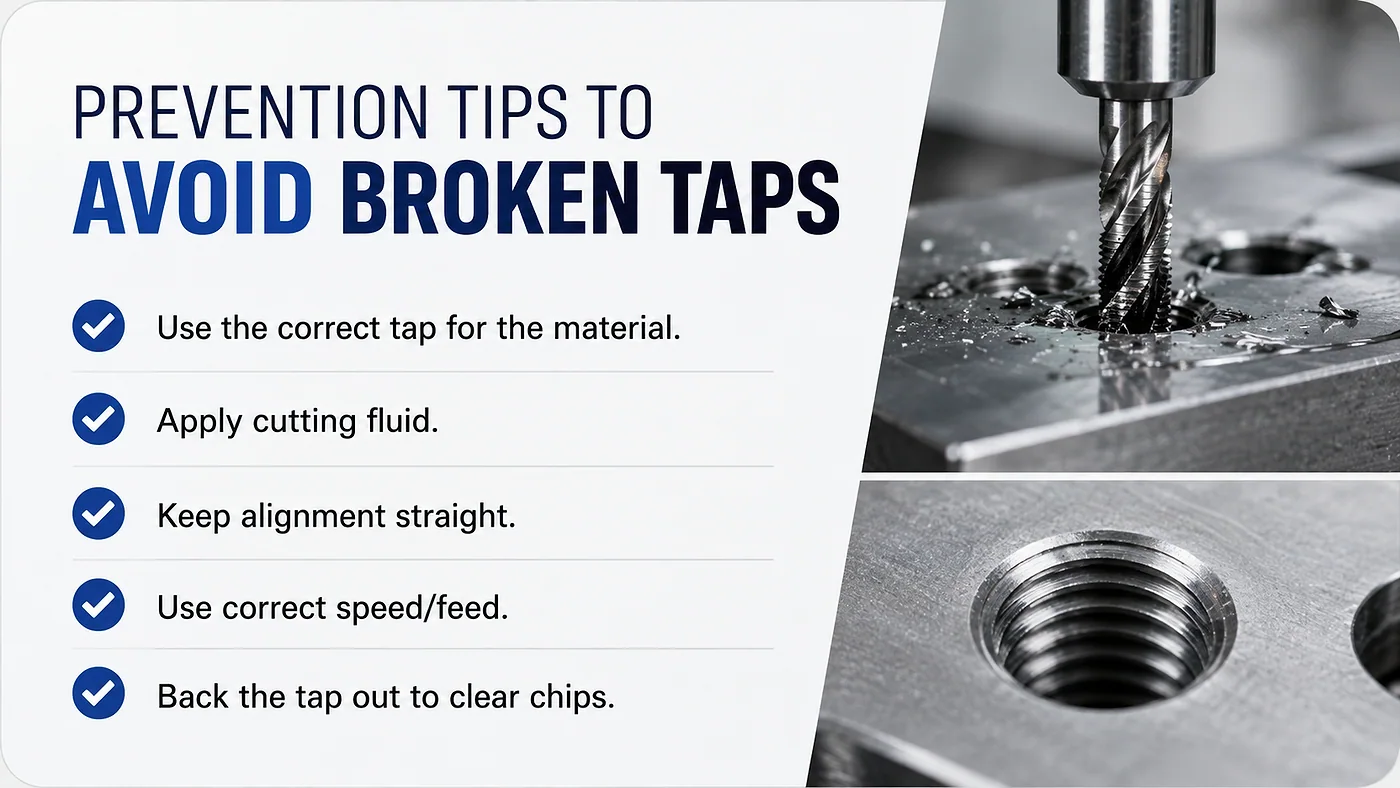
Choose the Tap for the Material and Hole
Spiral-point taps push chips forward in through holes. Spiral-flute taps pull chips out of blind holes. Form taps create no chips but need the correct ductile material, larger pre-hole, lubrication, and torque capacity. Coating, flute count, chamfer length, and tap strength should match the workpiece and thread depth.
Control the Pre-Hole
Verify tap-drill diameter, roundness, position, chamfer, burrs, and depth. Blind holes need clearance for the tap lead, chips, and coolant beyond the required full thread. Excessive thread percentage increases torque with little practical strength gain.
Control Alignment, Runout, and Synchronization
Rigid tapping depends on accurate spindle-feed synchronization and low runout. Floating or tension-compression holders can compensate in suitable processes, but they do not fix a mislocated hole or bent tap. Confirm holder condition and program units after setup changes.
Manage Chips and Lubrication
Use fluid appropriate to the material and tap. Maintain concentration, delivery, filtration, and access to the cutting zone. Blind holes require chip evacuation matched to tap geometry; blindly reversing repeatedly can recut chips and damage the thread.
Monitor Tool Life
Do not wait for catastrophic breakage. Track torque or spindle load where possible, establish tool-life limits by material and hole type, inspect early units, and replace taps when wear trends rise. Thread milling can be a lower-risk alternative for large, expensive, or difficult holes because a broken cutter is often easier to remove.
Production and Supplier Controls
A production process should define tap brand and geometry, drill size, holder, speed, feed, coolant, programmed depth, tool-life rule, inspection frequency, and reaction plan. First article inspection should confirm thread position, depth, gauge result, and mating fastener engagement.
For repeat batches, record tool changes and monitor torque or load trends. If a tap breaks, quarantine affected parts and verify previous holes since increasing torque may indicate tool wear or chip-control problems before the final failure.
Frequently Asked Questions
1. What is the safest first step after a tap breaks?
Stop the machine, isolate motion, secure the part, wear eye protection, clean loose chips safely, and inspect the break before applying force.
2. Can pliers remove a broken tap?
They may work when enough tap protrudes and it is not tightly jammed. Grip close to the surface, stay aligned, and stop if reverse torque rises sharply.
3. Do tap extractors work?
They can work when intact flutes are accessible and the tap can rotate. Their thin fingers are not suited to extreme torque or heavily packed chips.
4. Can a normal drill bit drill through a broken tap?
Usually not reliably. Hardened HSS and carbide taps require rigid alignment and suitable carbide, abrasive, EDM, or specialized removal tooling.
5. Is EDM the best broken tap removal method?
It is often the lowest-risk method for a hard tap in a valuable conductive part, especially below the surface. Cost and machine access must still be considered.
6. Can a broken tap be dissolved from aluminum?
Some controlled chemical processes can preferentially attack steel, but compatibility, safety, corrosion, cleaning, and part approval must be evaluated.
7. Can the original thread be saved?
Often yes when extraction or EDM is well controlled. Damage from the break or prior removal attempts may still require chasing, an insert, or oversize repair.
8. Why do taps break in blind holes?
Common reasons are insufficient bottom clearance, trapped chips, incorrect spiral direction, excessive engagement, poor lubrication, and programmed depth errors.
9. Is thread milling safer than tapping?
For suitable sizes it can reduce removal risk and offers flexible diameter control, but it requires interpolation, correct tooling, and enough space for the cutter path.
10. How can repeated tap breakage be prevented?
Verify drill size and depth, tap geometry, alignment, holder, synchronization, coolant, chip evacuation, speed, feed, material condition, and tool-life limits.
Final Thoughts
The best way to remove a broken tap is the method that protects the part, operator, and final thread with the least irreversible damage. Gentle mechanical extraction suits accessible loose breaks; rigid specialized cutting may suit noncritical repairs; EDM is often preferred for hard, deep, or valuable parts. After removal, inspect the thread and correct the original tapping failure before production resumes.
Related DAXIN Services
DAXIN supports CNC drilling, tapping, thread milling, EDM coordination, precision hole repair, threaded inserts, dimensional inspection, prototypes, and batch production. Engineering review can cover tap selection, pre-hole size, chip control, tool life, thread inspection, and repair disposition.
Request an Expert Thread Repair Review
Send your part drawing, material, thread specification, break depth, quantity, and photos through the DAXIN contact page for a removal, repair, or remanufacturing review.