
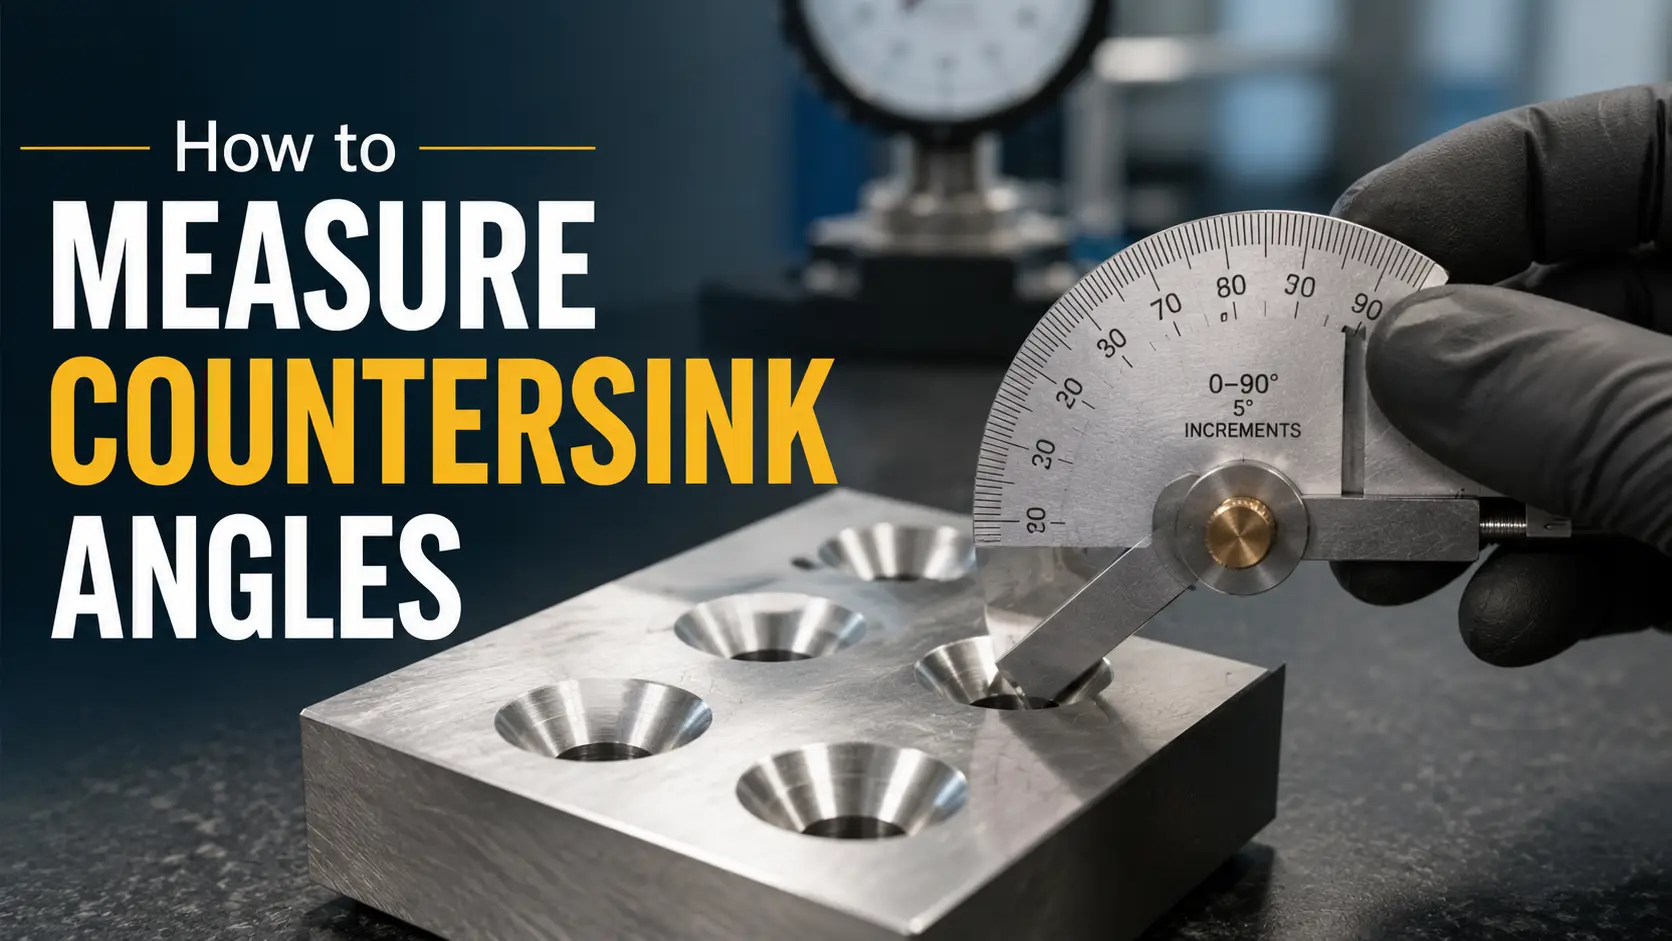
Countersinks are essential for screw assembly and flush fastening. Deviations in the countersink angle can cause screws to protrude, insufficient clamping, edge chipping, or excessive assembly gaps. Many operators rely solely on experience rather than precise measurement. This guide explains countersink angle standards, measurement methods, tool usage, error analysis, and correction techniques, making it suitable for CNC operators, quality inspectors, and process engineers.
Basics of Countersink Angles
What is a Countersink Angle
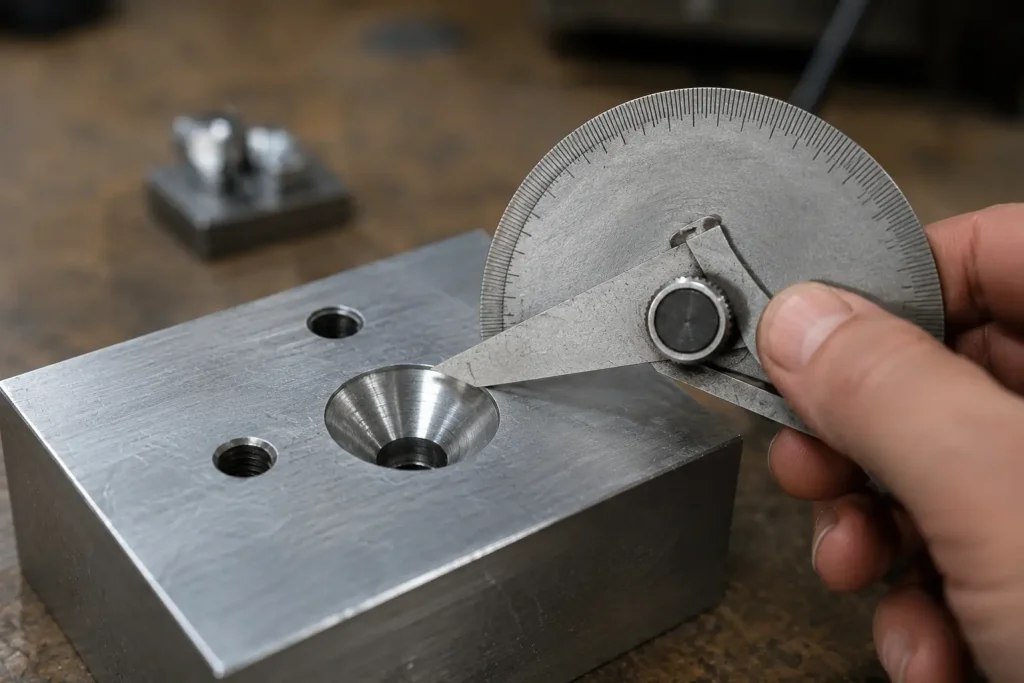
The countersink angle is the total included angle formed by the two tapered sides of a conical hole. It is the overall angle, not a single flank slope, and is usually expressed as the included angle in industry standards.
Standard Industry Countersink Angles
Metric countersunk screws commonly use 90°, while imperial screws typically use 82°. Specialized large-cone parts may require 100°, 110°, or 120° custom countersinks.
Consequences of Incorrect Angles
If the angle is too large, screws may sink too deeply, causing surface depression and loose fastening. If too small, screws may protrude, compress improperly, or interfere during assembly. Uneven angles can result in single-flank contact, uneven force distribution, and a higher risk of thread stripping or countersink edge chipping.
Common Tools for Measuring Countersink Angles
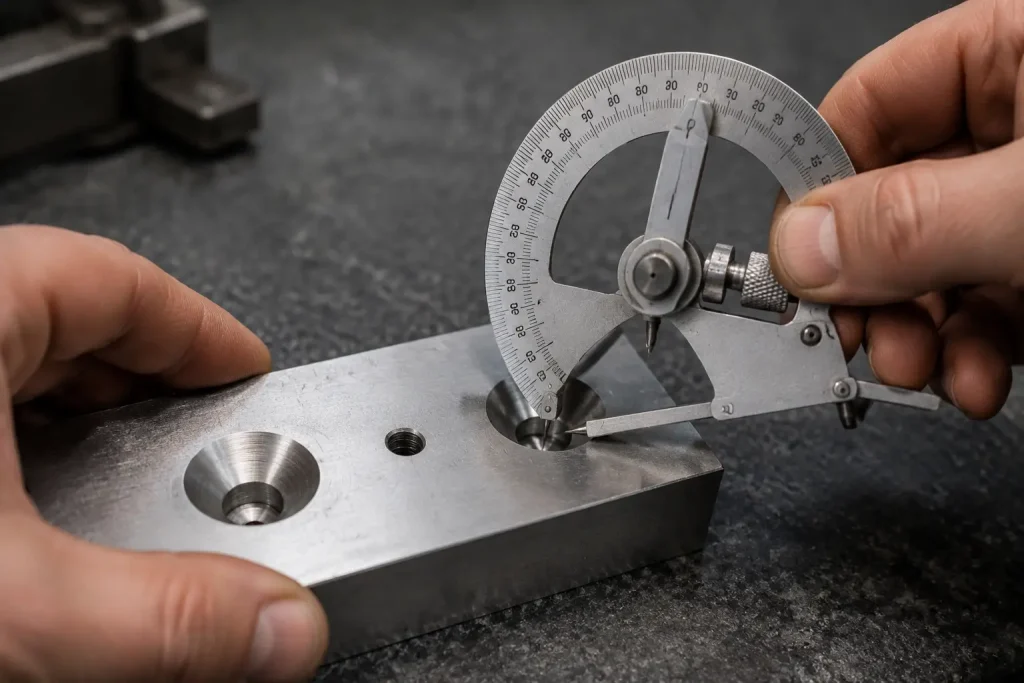
Countersink gauges or taper gauges offer rapid on-site inspection. Optical comparators provide precise measurements and are the standard for quality control. Coordinate measuring machines (CMMs) can assess complex or curved countersinks with high precision. Universal angle gauges serve as auxiliary tools for rough measurement, especially suitable for large countersinks.
Four Practical Measurement Methods (from Fast to Precise)
Gauge Comparison Method (Quick On-Site Check)
Place a standard 90° or 82° gauge against the countersink surface. If no light passes through, the angle is standard. Partial light indicates whether the angle is too large or too small. This method is ideal for batch inspection and rapid sorting of defective parts.
Screw Test Fit Method (Simple Factory Check)
Insert a standard countersunk screw and observe the fit. Full contact without gaps indicates conformity. Partial suspension or tight spots reveal angle deviation. This provides a preliminary assessment but not precise numerical data.
Optical Comparator Measurement (Precision QC)
By sectioning or projecting the workpiece, lines are drawn along the tapered sides of the countersink. The system automatically calculates the included angle with up to 0.01° accuracy, making it the mainstream standard for outgoing inspections.
CMM Point Measurement Method (High-Precision Inspection)
Sample multiple points evenly along the conical surface, fit a plane, and calculate the included angle. This method suits complex, deep, or high-precision countersinks.
Measurement Errors and Common Mistakes
Mistaking the half-angle for the full included angle results in doubled readings. Burrs at the hole mouth can skew measurements. Improper placement or tilting of the workpiece introduces deviation. Tool wear can produce angle gradients, causing local misjudgment between the hole mouth and bottom.
Countersink Angle Correction Strategies
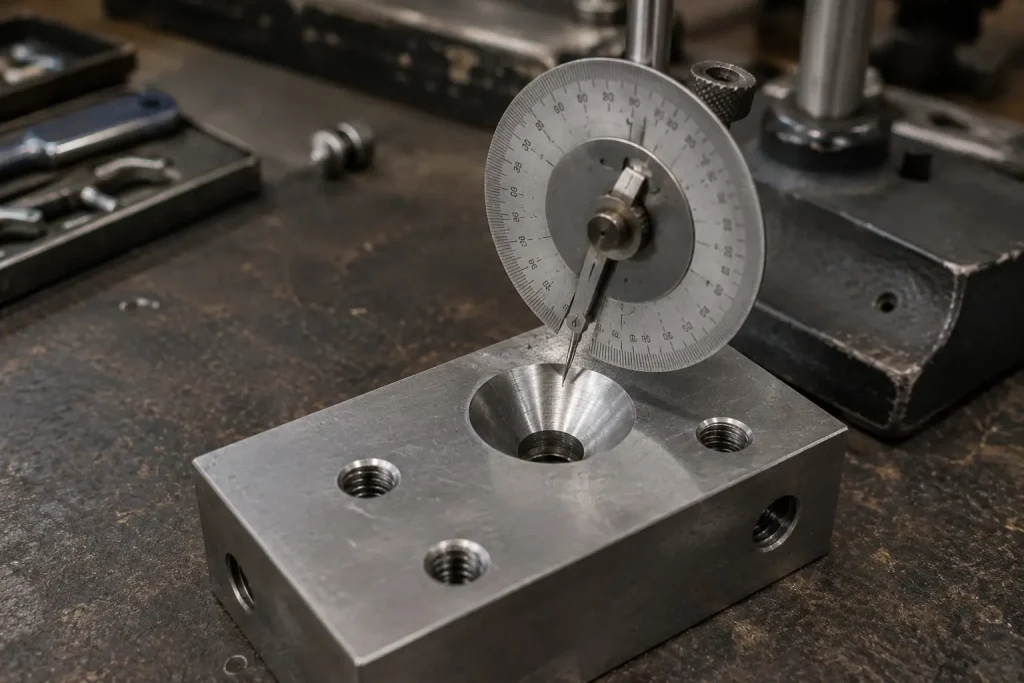
For angles that are too small, adjust the countersink feed, increase the penetration depth, or correct the tool angle. For angles that are too large, replace the countersink tool, reduce cutting depth, or realign the tool. Uneven angles require checking spindle runout, correcting tool concentricity, or reducing cutting speed.
Measurement Selection Recommendations
For shop-floor inspections and batch production, gauge comparison is sufficient. For outgoing quality control and tolerance management, optical comparators offer precision. For high-end precision components or nonstandard countersinks, CMM fitting measurement is recommended.
Conclusion
Key points in measuring countersink angles include understanding full versus half angles, removing burrs, leveling the workpiece, and matching the appropriate measurement tool. Standard metric screws are 90°, and imperial screws are 82°. Accurate countersink angle measurement ensures screws sit flush, prevents surface collapse, guarantees secure fastening, and eliminates assembly defects, maintaining consistent quality across batch production.
Need reliable guidance for precise countersink angle measurement in CNC production? Contact Daxin century for expert tool recommendations, inspection methods, and correction strategies.
Related Reading
FAQ
What is a countersink angle?
The total included angle formed by the tapered sides of a conical hole, used to ensure screws sit flush and secure.
Why is accurate measurement important?
Deviations can cause screw protrusion, loose fastening, edge chipping, or assembly interference.
What tools are used for measurement?
Countersink gauges, optical comparators, CMMs, and universal angle gauges depending on precision requirements.
What are the main measurement methods?
Gauge comparison, screw test fit, optical projection, and CMM point measurement, ranging from quick checks to high-precision inspection.
How are angle deviations corrected?
Adjust feed, penetration depth, tool angle, replace worn tools, check spindle runout, or reduce cutting speed depending on the issue.