
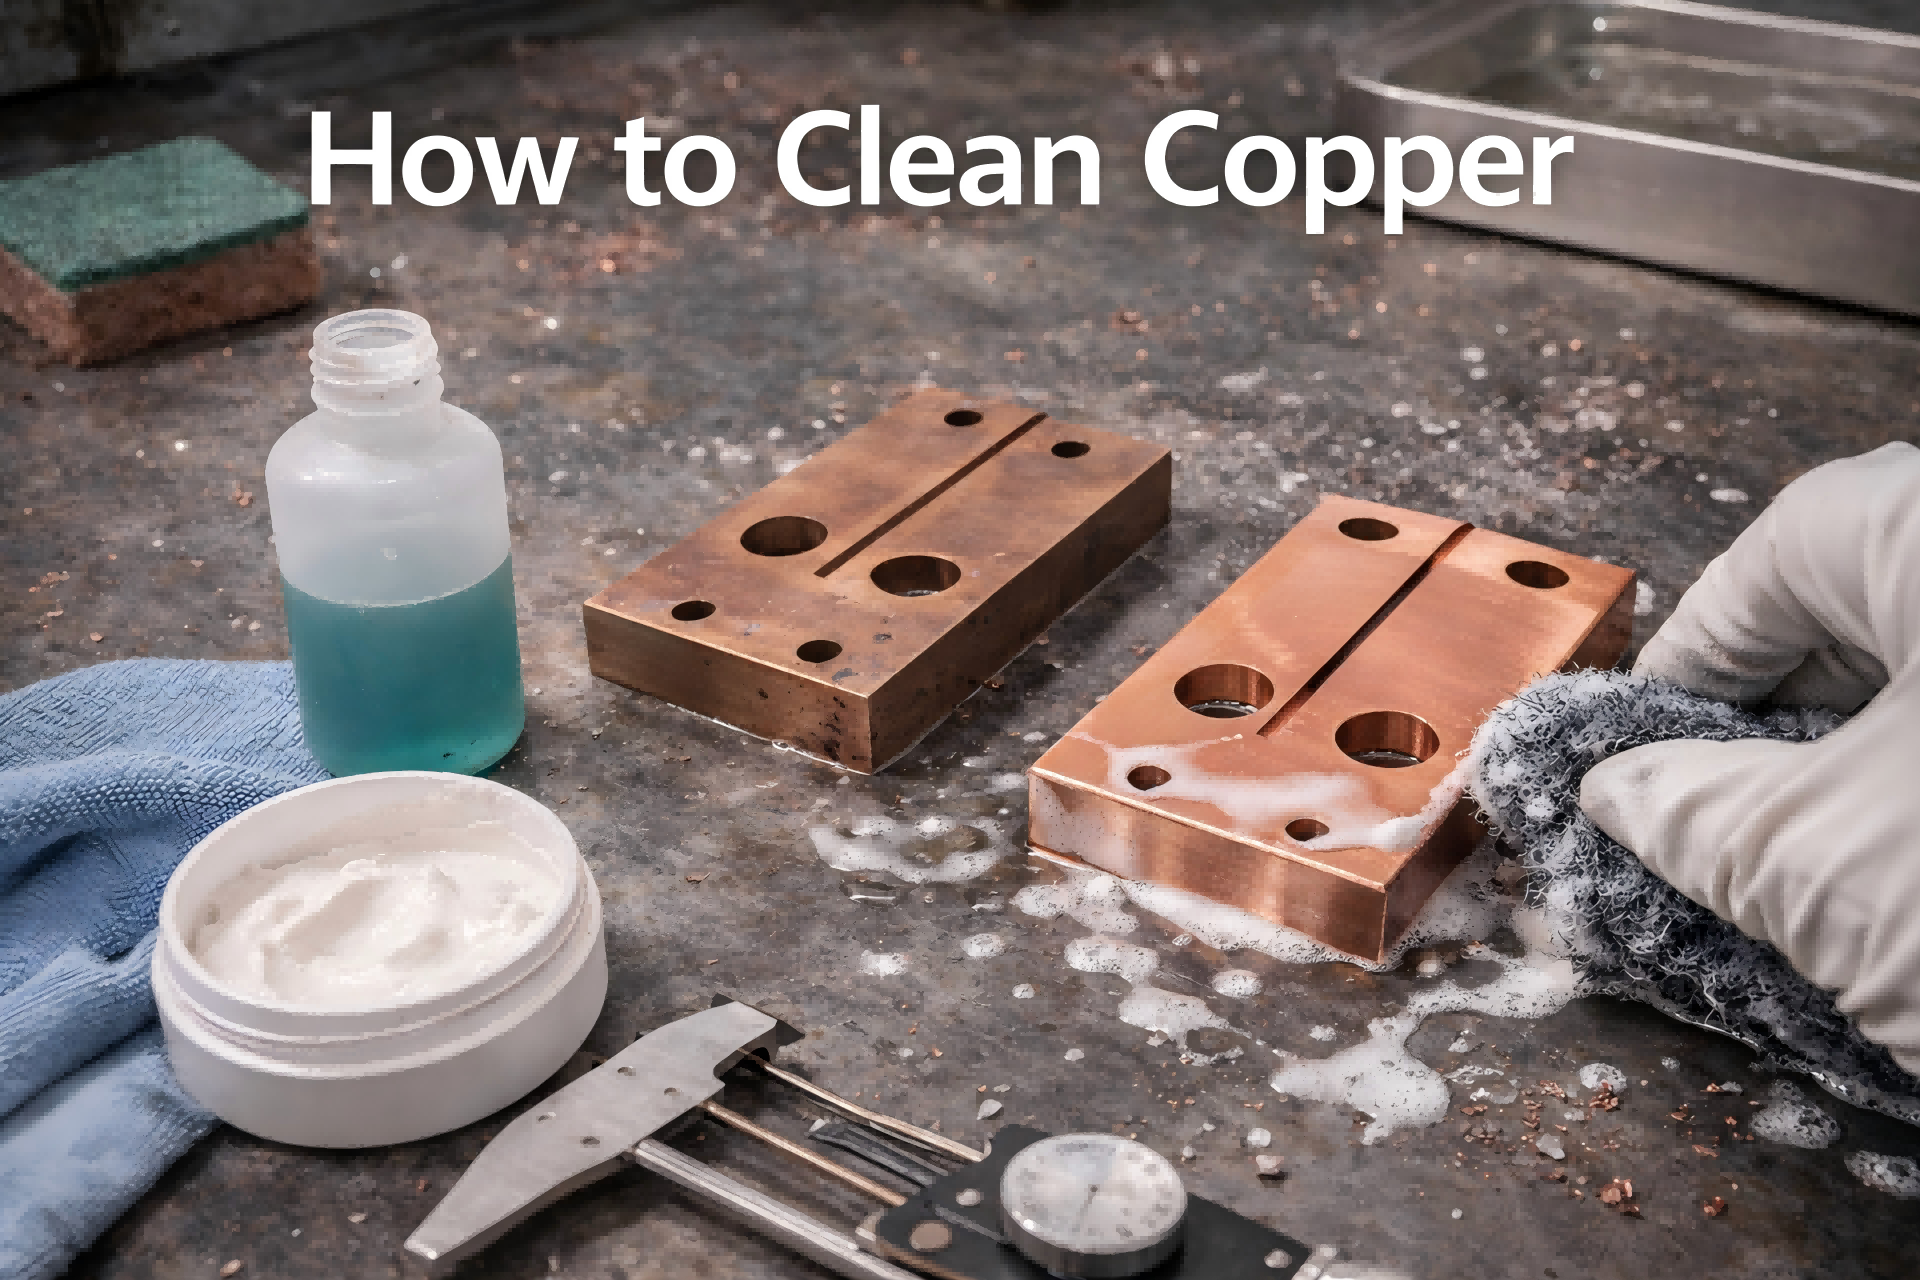
The key to cleaning copper is not to scrub it as bright as possible, but to gently remove oxide layers, verdigris, and dirt while avoiding damage to the copper itself and its surface condition.
That is the conclusion up front.
Copper itself is not difficult to clean. The real problem is that once people get impatient, they often use the wrong method. Too much force, and the surface gets scratched. Too strong a chemical, and the copper gets corroded. Fail to dry it properly after cleaning, and it turns dark again a few days later. It may look like “cleaning,” but in reality it shortens the life of the copper part.
So the right cleaning logic is not about chasing a one-step, aggressive fix. It is about treating different situations differently. Light contamination should be handled with gentle methods. Heavy oxide layers and verdigris need more targeted treatment. Copper-plated parts, copper alloys, and precision copper parts require extra caution, because their surface conditions and structural characteristics are not the same to begin with.
Whether the item is a household copper vessel, a copper accessory, a brass component, an instrument copper part, a valve component, or even an industrial copper part, the right cleaning method can remove the contamination while also reducing the risk of later darkening, corrosion, and loss of luster. The following guide explains the process in order: first understand the type of contamination, then choose the right method, and finally avoid common mistakes and apply proper maintenance.

1. First Understand Why Copper Gets Dirty, Turns Dark, and Develops Verdigris
Many cleaning failures do not happen because the technique is poor, but because the actual surface problem was never identified correctly at the start.
1.1 When Copper Turns Dark, It Is Usually an Oxide Layer, Not Necessarily Severe Corrosion
When copper is exposed to air for a long time, especially in the presence of moisture, temperature changes, or skin oils, it gradually develops a black or dark brown oxide layer. This is extremely common.
Typical characteristics include:
- darkened color
- loss of the original metallic luster
- usually limited to the outer surface
- often a surface change at the early stage, not necessarily severe corrosion
This kind of issue is usually more of a surface oxidation problem and is not especially difficult to handle.
1.2 Verdigris Deserves More Attention
Verdigris, commonly called copper corrosion or copper rust, is usually the green substance formed when copper reacts with moisture, oxygen, and carbon dioxide. It is more troublesome than ordinary darkening.
That is because it is not just a cosmetic issue.
If left untreated for a long time, it can indeed accelerate further corrosion of the copper surface.
It is especially common in situations such as:
- outdoor copper parts
- long-term humid environments
- around pipe joints
- old copperware
- decorative copper parts that have not been cleaned for a long time
1.3 Everyday Dirt and Stubborn Buildup Are Not the Same Thing
Common issues on copper surfaces also include:
- grease
- fingerprints
- dust
- limescale
- long-term accumulated mixed grime
One of the most common mistakes is treating light dirt and stubborn oxidation as if they were the same thing.
The result is often that light dirt gets over-treated, while the stubborn contamination still is not properly removed.
So the first step in cleaning copper is not grabbing a tool.
It is identifying the type of contamination first.
2. Three Principles You Must Remember Before Cleaning Copper
This section matters because every method that follows is built on these principles.
2.1 Start Gentle, and Do Not Reach for Harsh Methods Immediately
When people see blackened copper, the first reaction is often to find the strongest cleaner possible.
That is usually not a good habit.
Copper surfaces do not tolerate overly aggressive acids, alkalis, or abrasive cleaning very well. A harsh method may remove the stain, but it may also damage the copper surface itself. In mild cases, the surface loses luster. In worse cases, it can corrode, become patchy, or develop irreversible marks.
So in principle, it is better to start with methods such as:
- white vinegar
- lemon juice
- baking soda
- diluted soapy water
- alcohol
- citric acid solution
- dedicated copper cleaners
2.2 Distinguish the Material, Because Not All Copper Parts Can Be Treated the Same Way
Not every “copper-colored metal” can be cleaned with the same method.
Common distinctions include:
- pure copper
- copper-plated parts
- brass
- bronze
- precision copper parts
- structural copper alloy parts
For example, copper-plated parts are especially vulnerable to wear on the plating.
Precision copper parts are especially vulnerable to liquid entering the internal structure.
Brass and bronze also do not react on the surface exactly the same way as pure copper.
So if the material is identified incorrectly, the method can still be wrong even if you follow it carefully.
2.3 After Cleaning, It Must Be Thoroughly Dried
This step is often ignored, but it has a big impact.
Many copper parts turn dark again quickly after cleaning not because they were not cleaned properly, but because:
- moisture remained on the surface
- gaps and crevices were not dried
- the storage environment was too humid
- no basic aftercare was applied after cleaning
So the real end of copper cleaning is not the moment you finish rinsing.
It is the moment the part has been thoroughly dried.
3. The Most Practical Cleaning Methods for Light Household Contamination
If the item is a common household pure copper or brass piece, a copper ornament, or a small copper utensil with only slight darkening, fingerprints, or a light oxide layer, there is usually no need for anything too aggressive.
3.1 Method One: White Vinegar + Salt
This is one of the most common and easiest methods to use.
It is suitable for:
- slight darkening
- thin oxide layers
- general household copperware
- small brass parts
- surface cleaning of copper accessories
Steps:
- Mix white vinegar and salt at a 2:1 ratio
- Stir until the salt is mostly dissolved
- Use a soft cloth dipped in the mixture to gently wipe the copper surface
- Let it sit for 1–2 minutes
- Rinse with clean water
- Immediately dry thoroughly with a clean soft cloth
The advantage of this method is that it is simple, the materials are easy to find, and the cleaning effect is usually good enough.
But do not leave the part soaking for a long time, especially if it is thin or has a delicate surface condition.
3.2 Method Two: Lemon Juice + Baking Soda
If you want something gentler that still works on light oxidation, lemon juice with baking soda is often a better option.
Steps:
- Mix lemon juice and baking soda into a paste
- Apply the paste to the darkened or stained area
- Gently rub in circles with a soft cloth
- Rinse with clean water
- Dry thoroughly
This method is better suited to:
- light oxidation
- localized contamination
- small parts that require better surface delicacy
- household decorative copper items
Its advantage is that it is relatively mild and offers a higher margin of safety during use.
4. How to Handle Heavy Oxidation and Verdigris
If the copper part is no longer just slightly darkened, but has a heavy oxide layer, visible verdigris, or long-term accumulated contamination, then light wiping alone will no longer be enough.
4.1 Method One: Citric Acid Solution Soak
This is a very practical method for dealing with heavy oxidation and verdigris. It is usually more effective than white vinegar and is better suited to old copperware, outdoor copper parts, or copper items that have not been cleaned for a long time.
Steps:
- Prepare 1 liter of water + 50g of citric acid
- Stir until completely dissolved
- Soak the copper part for 10–15 minutes
- Adjust the time according to the thickness of the contamination, but do not extend it indefinitely
- Remove the part and wipe it with a soft cloth
- Rinse with clean water
- Dry thoroughly
Suitable for:
- old copperware
- outdoor copper parts
- parts with obvious verdigris
- copper parts with thick surface oxidation
Important note:
If the part is a precision copper component or a copper-plated item, avoid direct soaking whenever possible.
4.2 Method Two: Dedicated Copper Cleaner
If the application is industrial, the copper part is large, the contamination is heavy, or household methods have already been tried without good results, then a dedicated copper cleaner is usually the more direct solution.
Typical use steps:
- Dilute according to the product instructions
- Apply to or soak the copper part
- Let it sit for 5–10 minutes
- Rinse thoroughly
- Dry with a soft cloth
Suitable for:
- heavy contamination
- thick verdigris
- industrial copper parts
- large areas of oxidation
- situations where household materials are not effective enough
There are two key precautions here:
First, wear gloves.
Second, ensure good ventilation.
Dedicated copper cleaners are usually more effective, but they are also generally stronger, so the handling must be more controlled.
5. Special Copper Parts Must Be Treated Differently
This is one of the most easily overlooked sections. Many copper parts are not “hard to clean.” They are simply “damaged during cleaning.”
5.1 Copper-Plated Parts: The Priority Is Protecting the Plating, Not Maximizing Cleaning Power
The copper layer on copper-plated parts is usually quite thin.
So what it fears most is not contamination, but wear.
Suitable methods:
- diluted soapy water
- wiping with a soft cloth
- quick rinsing with clean water
- immediate drying
Methods not recommended:
- strong acids
- rough cloths
- steel wool
- sandpaper
- long soaking times
If a copper-plated part loses its shine after cleaning, the problem is often not that the dirt was not removed. It is that the plating has already been worn away.
5.2 Copper Alloy Parts: Brass and Bronze Require Better Balance
Brass and bronze are copper alloys, and they are not always well suited to the most direct, aggressive cleaning methods.
A safer household approach is:
white vinegar + flour mixed into a paste
The logic is:
- Mix white vinegar and flour into a paste
- Apply it to the alloy surface
- Wipe gently
- Rinse clean
- Dry thoroughly
The advantage of this approach is that it is easier to control. It does not run everywhere like a liquid, and it is better suited to localized treatment.
One important reminder:
Do not use chlorine-containing cleaners on copper alloy parts.
5.3 Precision Copper Parts: If Wiping Works, Do Not Soak
Parts such as copper valves, instrument copper components, and precision copper connectors often have internal passages, mating surfaces, sealing areas, or downstream assembly requirements. The biggest risk with these parts is not that the surface does not become shiny enough. It is that liquid enters the inside and remains there.
Safer methods usually include:
- wiping with alcohol
- localized treatment with a soft cloth
- avoiding soaking
- avoiding large amounts of water rinsing
With precision parts in particular, if the part is not completely dried after cleaning, it may later develop fresh oxidation problems and may even affect assembly and use.
6. Cleaning Copper: These Mistakes Must Be Avoided
Many people do not fail because they do not know how to clean. They fail because they make the wrong mistakes too aggressively. The points below are worth remembering directly.
6.1 Do Not Use Steel Wool or Sandpaper
The most direct problem with these tools is that they leave visible scratches on the copper surface.
In the short term, it may look as if they removed the contamination.
In the long term, the luster is damaged, and the surface becomes more likely to trap dirt and oxidize again.
This is especially risky for:
- copper accessories
- polished copper parts
- copper-plated parts
- precision copper surfaces
- appearance-critical parts
6.2 Do Not Use Strong Acids, Strong Alkalis, or Chlorine-Containing Cleaners
The following should be especially avoided:
- hydrochloric acid
- caustic soda
- chlorine bleach
- chlorine disinfectants
- heavy corrosive cleaners with unclear composition
These chemicals may quickly produce a visible “reaction” on the surface, but they may also corrode the copper at the same time and leave the surface in worse condition.
Cleaning is not the same as chemical damage.
6.3 Do Not Soak for Too Long
This is a very common issue, but one that is often overlooked.
Many people think that a longer soak will always work better.
In reality, not necessarily.
This is especially true for:
- copper-plated parts
- precision copper parts
- thin-wall copper parts
- copper items with delicate surface finishes
In these cases, extended soaking usually carries more risk than benefit.
6.4 After Cleaning Outdoor Copper Parts, Do Not Just Leave Them Alone
Outdoor copper parts are already more prone to oxidation again.
If they are not dried promptly after cleaning, or if they are dried and then immediately exposed again to humidity or rain, the surface can quickly darken again or even turn green.
So outdoor parts need more post-cleaning protection.
7. Why Copper Parts Still Need Maintenance After Cleaning
Many people think that once the copper part is clean, the job is finished. In reality, it is not.
For copper, cleaning is only the first step.
Maintenance determines how long the result lasts.
7.1 First: Dry It Thoroughly
This step cannot be repeated too often.
Whether you used white vinegar, lemon juice, citric acid, or a dedicated cleaner, the final stage must always include:
- rinsing thoroughly with clean water
- drying completely with a clean soft cloth
- paying special attention to seams, edges, holes, and contact areas
As long as moisture remains, the chance of later oxidation rises significantly.
7.2 Second: Perform Light Maintenance Regularly
For household copperware or decorative copper items, it is advisable to at least do the following:
- wipe away surface dust once a month with a soft cloth
- avoid leaving skin oils on the surface for long periods
- apply a small amount of petroleum jelly if needed
- or use a dedicated copper maintenance oil
This light protective layer helps block air and moisture and is useful in slowing down re-oxidation.
7.3 Third: Pay Attention to the Storage Environment
Copper is not afraid of normal use. What it does not handle well is long-term exposure to environments such as:
- humidity
- heat and poor ventilation
- corrosive gases
- long-term lack of air circulation
- areas with salts or chemical residue
If pure copper parts will not be used for a long time, sealed storage is usually the safer option.
8. Common Questions: Many Copper Parts Are Not Hard to Clean, Just Cleaned the Wrong Way
8.1 If Verdigris Is Not Removed, Will It Damage the Copper?
Yes.
Verdigris is not just an appearance issue. If left untreated for too long, especially outdoors or in humid environments, it can indeed accelerate corrosion of the copper surface. So once verdigris appears, it is best to deal with it promptly rather than delaying.
8.2 What If a Copper-Plated Part Loses Its Shine After Cleaning?
In most cases, it is not that it “was not cleaned well.” It is that the plating has already been worn.
At that point, you can try:
- light maintenance oil for appearance recovery
- a care product designed for copper-plated parts
- re-plating if the damage is more serious
But if the plating itself has already been worn through, ordinary cleaning methods cannot restore it.
8.3 What If White Vinegar or Lemon Juice Leaves an Odor After Cleaning?
Usually, that is not a major problem.
As long as you:
- rinse repeatedly with clean water
- dry the part completely
- leave it in a ventilated area for a while
the odor will usually fade gradually.
8.4 Why Does Copper Turn Dark Again So Quickly After Cleaning?
The most common reasons are:
- it was not dried thoroughly
- the storage environment is too humid
- no follow-up protection was applied
- the part itself remains in a highly oxidative environment
- some liquid residue remained after cleaning
If that happens, do not assume the cleaning method “doesn’t work.”
Very often, the problem is that the final steps after cleaning were not done properly.
9. Conclusion: The Key to Cleaning Copper Is Not Force, but Precision
At the end of the day, the core logic of cleaning copper is very simple:
remove contamination gently, avoid damage, and maintain it in time.
For light contamination and mild oxidation, household materials such as white vinegar and lemon juice are usually enough.
For stubborn verdigris and thick oxidation layers, citric acid or a dedicated copper cleaner may be more suitable.
And copper-plated parts, copper alloys, and precision copper components must always be treated differently rather than all scrubbed the same way.
Truly effective cleaning is not about making the copper look “instantly as bright as possible.”
It is about making sure that after cleaning, the part remains intact, stable, attractive, and free from new damage caused by the cleaning process itself.
As long as the method is chosen correctly, the steps are orderly, and drying and maintenance are done properly afterward, most copper parts can be cleaned effectively while also maintaining their luster and service life for much longer.
If you would like to first understand the nature of copper blackening and verdigris—as well as how they differ from iron rust—you can continue reading [Can copper rust?].
FAQ Section
Frequently Asked Questions
Can White Vinegar Be Used to Clean Copper?
Yes. White vinegar is one of the most common household materials for cleaning copper, especially for light oxidation, darkening, and general dirt. But after use, it must be rinsed off completely and the part must be dried thoroughly.
Must Verdigris Always Be Removed?
Usually yes. Verdigris not only affects appearance, but can also continue to accelerate copper corrosion if left in place too long, especially on copper parts used outdoors or in humid environments.
Why Can’t Copper-Plated Parts Be Cleaned with Aggressive Methods?
Because the copper layer on a copper-plated part is usually thin. Strong acids, rough cloths, steel wool, or long soaking can all damage the plating, leading to dullness, wear, or even exposure of the underlying material.
Is Citric Acid Suitable for Cleaning Stubborn Copper Corrosion?
Yes. Citric acid solution is usually more effective for thicker oxide layers and verdigris. But the soaking time must be controlled, and the part must be rinsed thoroughly and dried afterward.
Why Are Precision Copper Parts Better Wiped Than Soaked?
Because precision copper parts may contain internal structures, sealing areas, or assembly requirements. If liquid remains inside after soaking, it may not only trigger new oxidation, but also affect downstream use and assembly stability.
How Can You Prevent Copper from Turning Dark Again After Cleaning?
The key is three things: dry it thoroughly, reduce exposure to humid environments, and perform light maintenance regularly. If needed, petroleum jelly or a dedicated copper maintenance oil can be used as simple surface protection.